Galgar kan vara trista, tråkiga och inte alls roliga att ha hängande framme. Galgar kan också enkelt dekoreras och bli roliga och fantastiska. Kolla här!
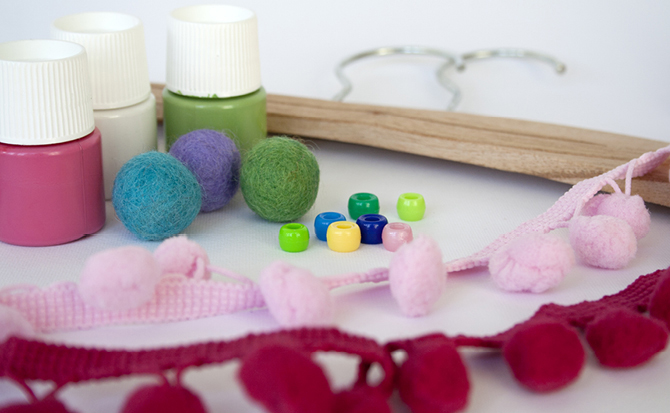
Ni behöver galgar, det brukar gå att hitta gamla tråkiga galgar på loppis. Hittar ni inga gamla finns nya galgar att dekorera här. Ni behöver också saker att dekorera med, till exempel färg, pärlor, fransar, klister och sax.
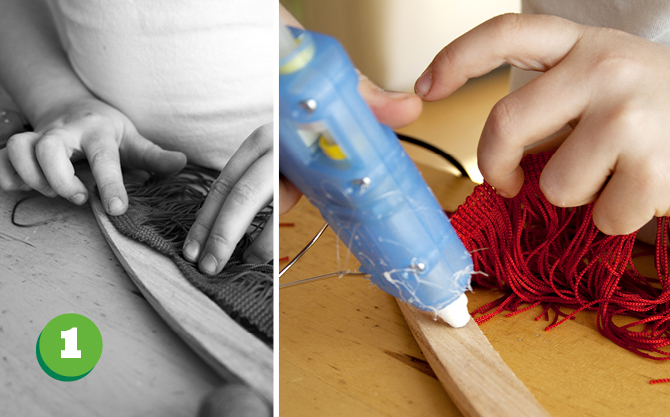
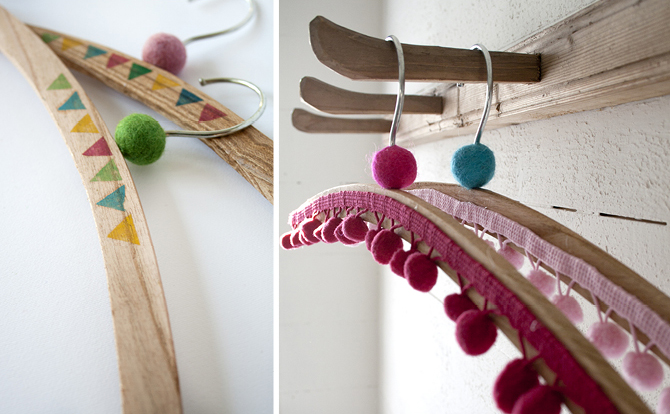
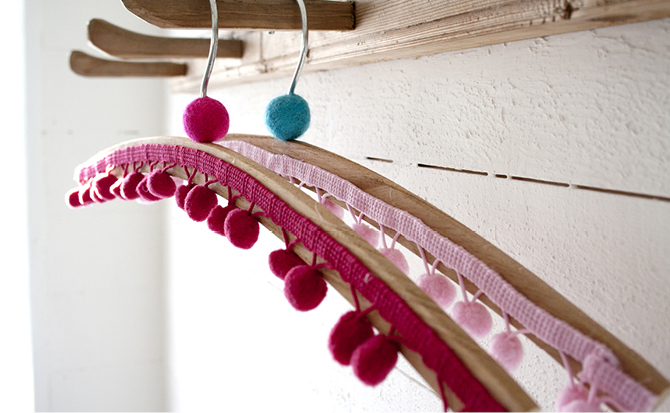
1. Vår första galge dekoreras med fransar. Vanliga fransar och bollfransar hittar ni i tyg- och hobbyaffärer. Freja använder gärna limpistolen men pysslar ni med mindre barn rekommenderar vi vanligt klister. Det är så lätt att bränna sig på limpistolen.
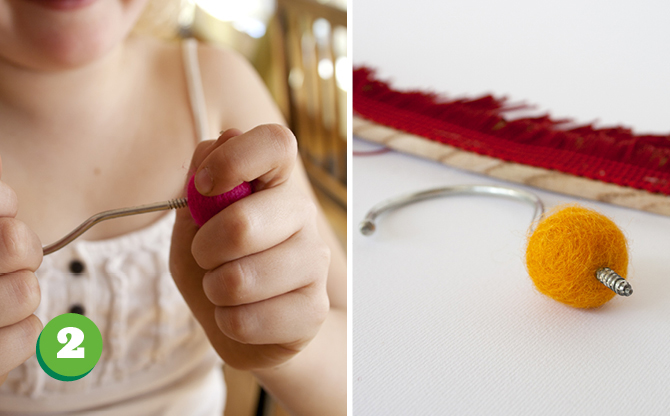
2. Vi ville också ha något fint på kroken och hittade några ullpärlor som blivit över när vi gjorde grytunderlägg. Ullpärlorna gick lätt att skruva sig igenom.
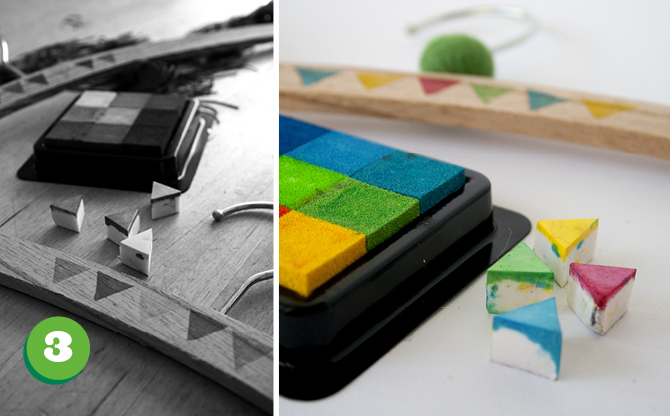
3. Vår andra variant är tryckt. Vi har använt vanlig stämpelfärg. Stämplarna är gjorda av ett suddgummi, precis som vi gjorde till Frejas kalas. Läs mer om hur vi gjorde här. Galgarna behöver lackas när tryckfärgen torkat, annars finns det risk att färgen försvinner.
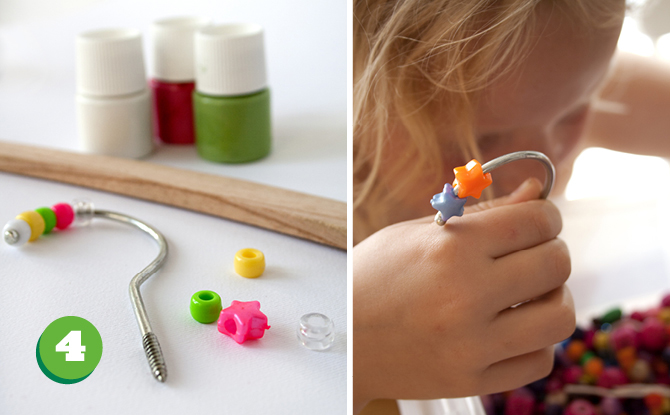
4. Den sista galgen bestämde vi för att måla. Vi har använt vanlig hobbyfärg och Freja har dekorerat krokarna med plastpärlor.
Resultatet blev så här…
… och så här!
Nu har vi fina galgar som gärna får hänga framme.


19 Comments
Helena, Craft and Creativity
8 May, 2012 at 11:25 amMycket fint! Alla varianterna lika tjusiga. 🙂
Karin & Freja
9 May, 2012 at 10:14 amTack Helena!
Malin
8 May, 2012 at 6:53 pmSå tjusigt. Härligt med en egen tatch 😀
Annika GW
8 May, 2012 at 10:43 pmSå fint och så enkelt att göra! / Annika
Hrandica
8 May, 2012 at 11:27 pmYou are so full od lovely and simple ideas. It’s always so nice to come here to your place.
DIY : Askı Süsleme Fikirleri | Hobi Fikirleri Yaratıcı El İşi Örnekleri
13 May, 2012 at 9:55 am[…] askıları sanırsam şirin bir kız çocuğu burada yenilemiş. VN:F [1.9.15_1155]please wait…Rating: 0.0/10 (0 votes cast) Reklam : Etiketler: […]
Sara
15 May, 2012 at 2:23 pmLove your hangers, and I made mine about a week ago too, so it’s so interesting that we’re on the same page! Now I just need to find a source for those hangers or maybe pick some up the next time I’m in Holland, which I hope will be this year. Does Ikea sell them? We do have Ikea in Israel, though a few hours from my home, but have been really wanting to get there!
Alessandra
28 May, 2012 at 4:28 pmit’s impossible to choose one!! all these hangers are beautifully clever!! good work!
xxx Alessandra
Karin & Freja
29 May, 2012 at 8:18 pmThank you so much!
365/172. ötlet – Vállfák a gyerekszobába | homeLOVE
3 June, 2012 at 9:50 pm[…] a kampóra, majd csavard vissza a megszáradt vállfa testbe. Az ötletért köszönet: Pysselbolaget Az elkövetkező egy évben, azaz 365 napban, minden egyes napon, egy újabb “csináld […]
DIY colorful hangers for kids
5 June, 2012 at 5:29 pm[…] Once you have painted the hanger there are numerous possibilities. You can either use fabric to wrap the hangers or use all sorts of decorations such as pompons, plastic stars, etc. You need to take the hook out and insert some colorful details, maybe glue them directly to the hanger or come up with a different idea. Then out the hook back. An easier alternative would be to just paint the hangers. In either situation, don’t forget to ask an expert’s opinion and that would be your kid.{found on pysselbolaget}. […]
simona - artsy ants
20 June, 2012 at 8:00 pmthis idea is fabulous!! i think this will make putting clothes away so much more fun!
i found your image/idea here: http://getideasforinteriordecoratinghome.blogspot.com/2012/05/hangers-for-children.html …but it did not include a link to your page, so i googled to find the true origin of this, which is your blog!
Karin & Freja
25 June, 2012 at 9:15 amI’m so glad you like our idea! We had so much fun making these hangers.
Also, thank you for letting me know were you found our pictures. I’ll contact the other site and tell them off for not linking back to us!
Make Your Own Colorful Clothes Hangers!
6 November, 2012 at 3:01 pm[…] And my own wardrobe got a well needed colour boost. If you want more ideas on how to decorate hanger, please check out an early post of ours here. […]
doro von Hand zu Hand
21 February, 2013 at 10:40 amevery single idea is very creative and funny!
I linked to your tutorial on my blog – thanks for sharing!
doro K.
Karin & Freja
22 February, 2013 at 5:27 pmThank you!
Whimseykids: Decorated Hangers | Whimseybox
18 July, 2013 at 11:40 pm[…] adorably decorated hangers leave me wondering to myself, “Could this project be the cure to my daughters’ aversion to […]
Rilane
26 June, 2014 at 10:11 pmWow great idea. Now you child will be cared for clothes 🙂
Perchas de la tintorería recicladas con camisetas – Pica Pecosa
28 January, 2017 at 6:29 pm[…] forró con tela de un vestido y les añadió un lazo. Simple y bonito: Estas con papel: En Pysselbolaget han tirado la casa por la ventana: bolas de fieltro, flecos, pintura, madroños, cuentas de […]